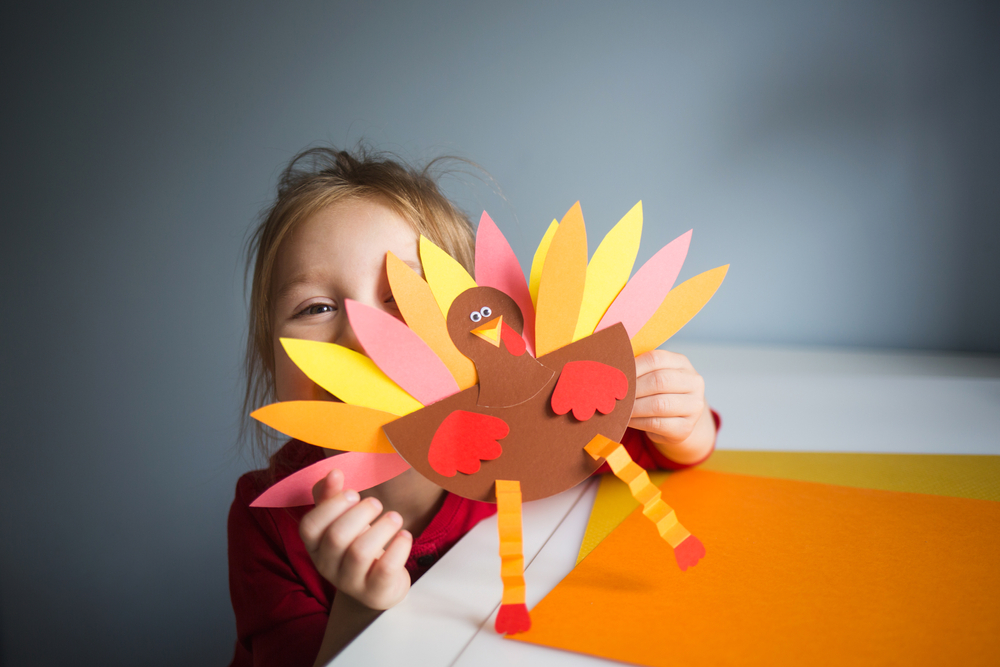
Father’s Day is the perfect time to show appreciation for the dads, stepdads, grandpas and father figures who go above and beyond every day. From teaching us how to ride a bike to helping with homework and offering guidance through life’s challenges, fathers play a huge role in shaping who we are.
One of the most meaningful ways kids can say “thank you” is with a heartfelt, homemade gift he will cherish forever. Here are three fun Father’s Day gifts that are easy for kids to make.
Painted Hammer
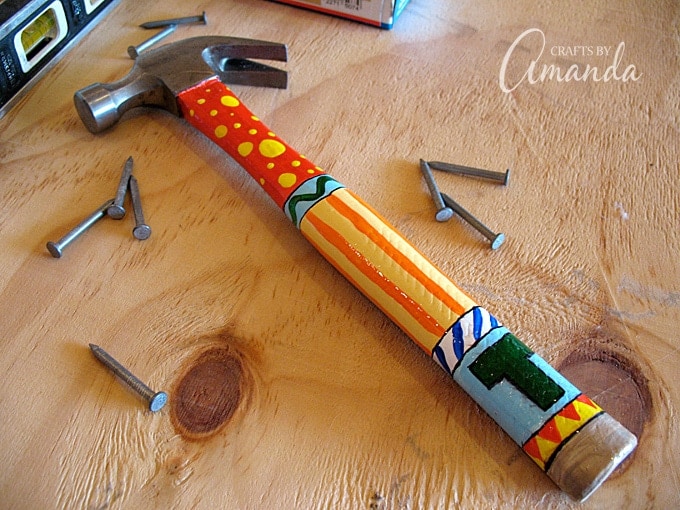
What You’ll Need
- 1 wood-handled hammer
- Sandpaper
- Acrylic paints in any colors, including white
- Paintbrushes
- Black fine point marker
- Clear acrylic glaze or sealer
Directions:
- Sand the wood handle of the hammer to rough up any coating that may have been added. Paint one side of the wooden handle white. Once it’s dry, paint the other side white as well.
- If you’d like to monogram the hammer, paint the first letter of Dad’s name toward the bottom of the handle (T for Tom, B for Bob, etc).
- Decorate the rest of the hammer! You will need to paint one side, let it dry, then paint the other side. Let both sides dry completely.
- Use a black fine point marker to add any details, such as outlines. It’s important to let the marker dry for a good 30 minutes, otherwise your sealer may cause the marker ink to bleed.
- Spray with a clear sealer or glaze. Let dry and repeat for a second coat. Allow to dry overnight.
Source: Crafts By Amanda
DIY Father’s Day Keychain
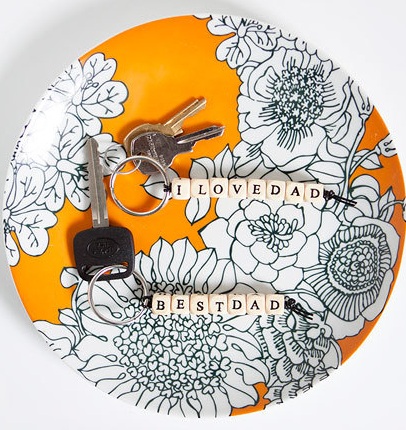
What You’ll Need:

- Alphabet beads
- Split rings
- Leather or plastic jewelry string
- Optional: Decorative beads
Directions:
- Cut a piece of string about 12 inches long. Fold the string in half, and wrap the doubled string around the split ring. Then bring it back around and put it through the string loop.
- Pull the string tight so it is wrapped tightly around the split ring.
- Let your children string the beads on with words like, “Best Dad,” “I love Dad,” or “Daddy’s Keys.”
- Tie the end of in a double knot, and snip off any extra string.
Source: HelloBee
Scribble Mug

What You’ll Need:
- White Ceramic Mug
- Painters Pens
- Stickers
Directions:
- First, wash out your ceramic mug.
- After it’s dry, apply any stickers you might want to use to create your design.
- Let your child start drawing.
- After your child is done with their drawing, peel off the stickers to reveal the design.
- Put your mug in the oven and bake at 350 for 30 mins.
- Let the mug cool completely.
Note: Hand wash the finished mug to make the design last longer. After baking, the colors will darken a little, so keep that in mind when choosing your colors for the mug!
Source: IHeartArtsAndCrafts