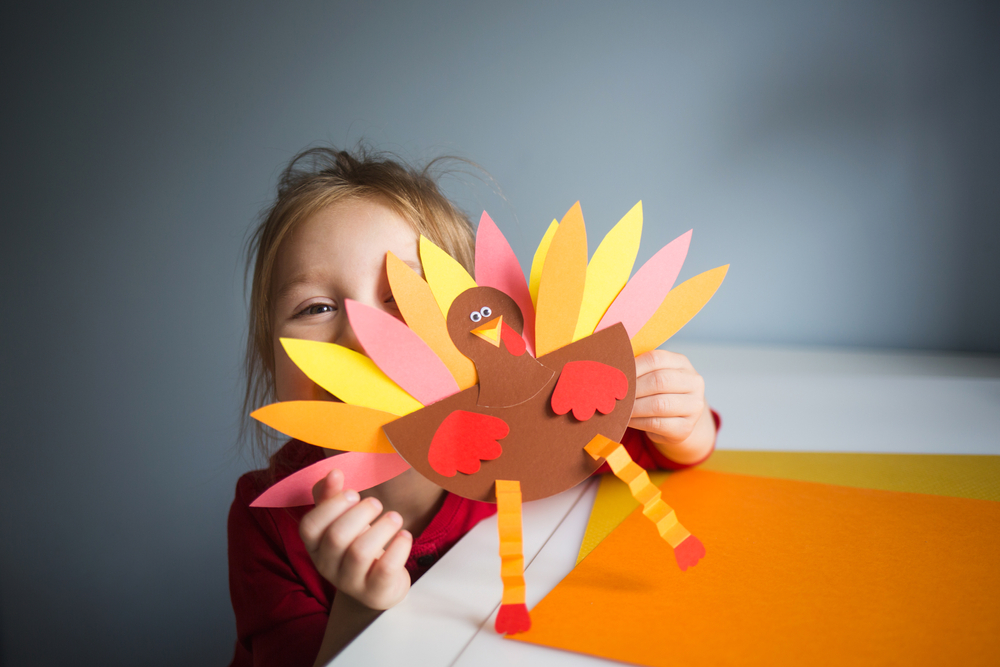
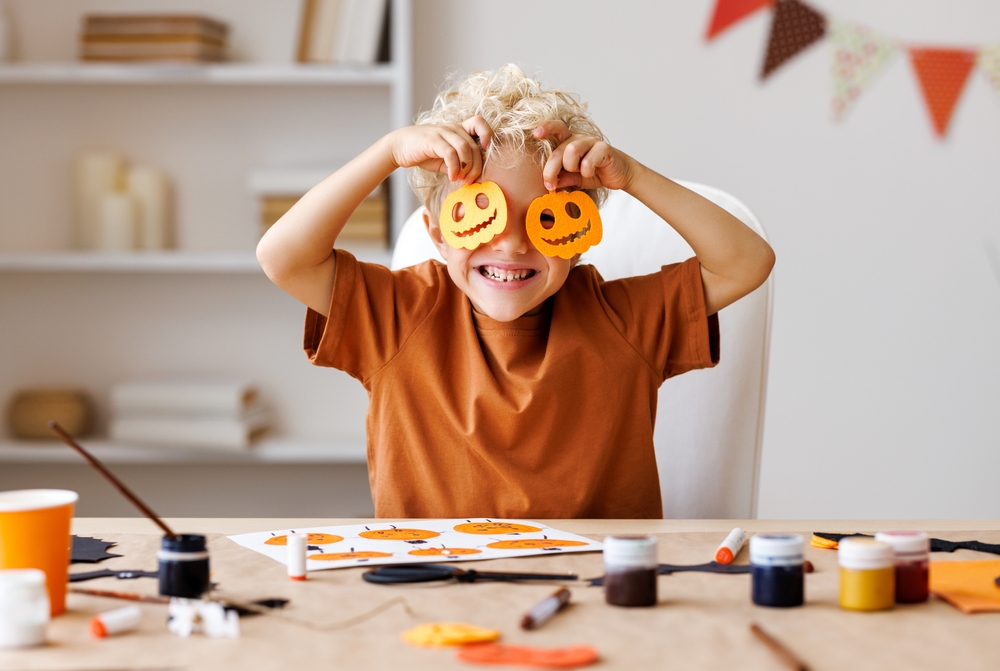
Decorating pumpkins, picking apples, dressing up and eating candy—lots and lots of candy— are all things kids love about October. To make this season even more magical, here are 10 kid-friendly fall craft ideas your kids will love.
1. Spiderweb Suncatchers
Made from black construction paper and colorful tissue paper, these spiderwebs can be hung in your kitchen or child’s bedroom window for spooky fun. Great for kids ages 4 and up.
Materials:
- Scissors
- Black construction paper
- Contact paper
- Tissue paper in several colors
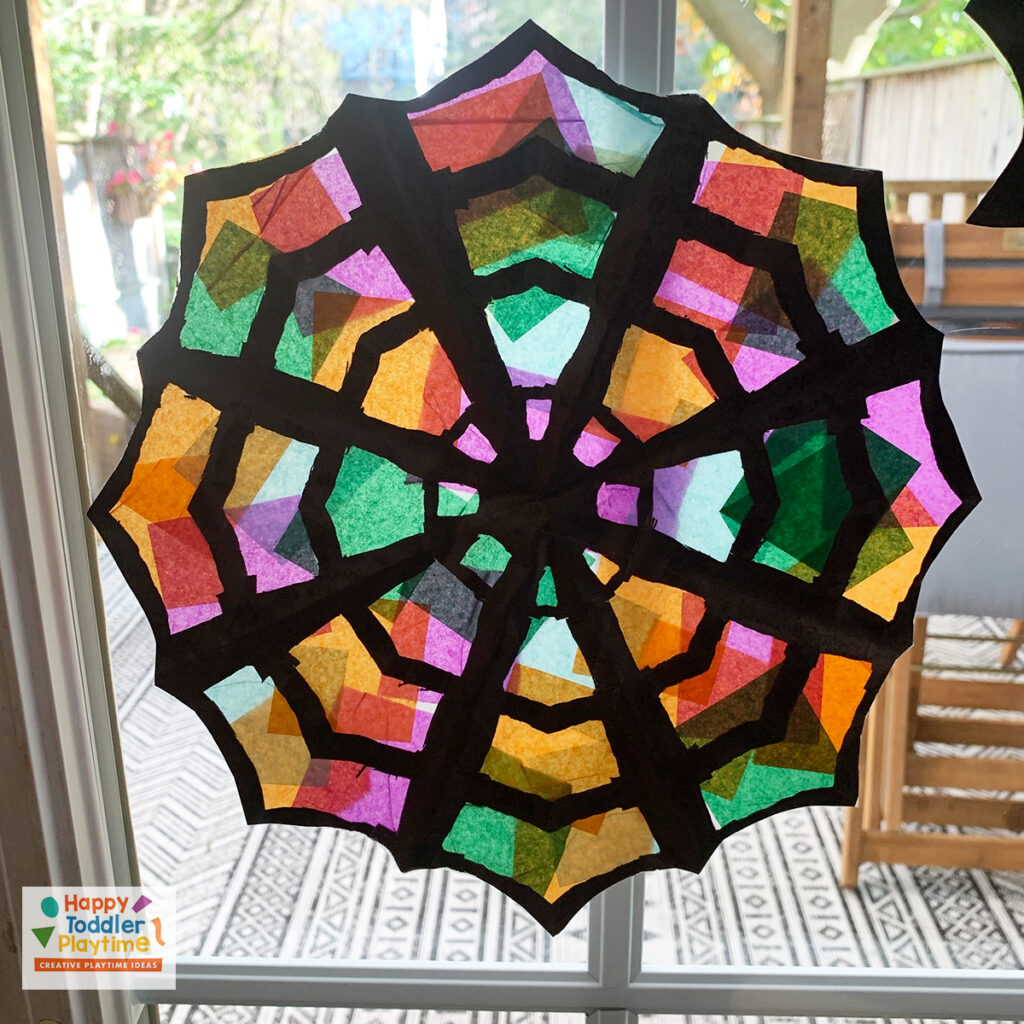
Directions:
- Fold a sheet of black construction paper to create a triangle and cut off the extra flap.
- Fold it again and then again.
- Fold it again and cut off the extra flap.
- Start cutting the web along the fold: Cut a cut at the top and continue cutting down, curving as you go to create the spider web shape.
- Cut off two pieces of contact paper the same size as your spider web. Tape one sheet to a surface using masking tape with the paper side up.
- Peel the paper back off the contact paper and lay your web down on the sticky surface.
- Cut your tissue paper into squares.
- Use the squares to decorate your spider web on the contact paper.
- Once the entire web is covered with tissue paper, grab the second piece of contact paper. Peel off the paper backing and lay the sticky side on the spider web to seal it.
- Cut off the extra contact paper with your scissors.
(Source: HappyToddlerPlaytime)
2. Chalk Ghosts
When it’s too cold to draw on the sidewalk, grab some chalk and have your kids create these spooky specters indoors.
Materials:
- Ghost-shaped cookie cutters
- Chalk
- Construction paper
Directions:
- Have your child place a ghost-shaped cookie cutter on top of a piece of construction paper.
- Color inside the cookie cutter until it’s completely filled in.
- Rub the chalk a bit to create a ghost-like texture.
(Source: ChalkGhosts)
3. Pinecone Spiders
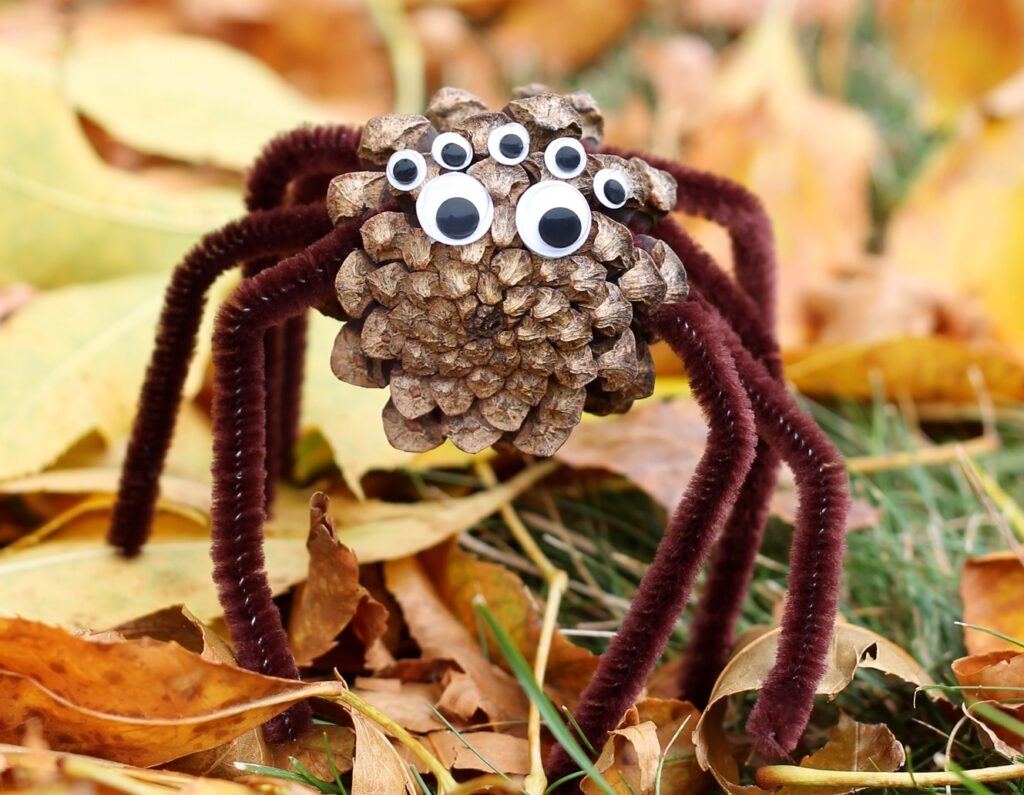
A perfect blend of creepy and cute, these natural-looking pinecone spiders make a great craft for groups of kids. It can also double as a summer camp activity in the warmer months! Place the finished spiders on bookshelves or other cozy nooks in your house.
Materials:
- Low-temperature hot glue gun
- Round pine cones
- Wiggly eyes
- Brown pipe cleaners
- Scissors
Directions:
- Wrap 4 full-length pipe cleaners around the pinecone to make a total of 8 legs. Shape the pipe cleaners into spider legs, adjusting the length with scissors if necessary.
- Attach wiggly eyes with hot glue to the bottom of the pinecone. You can also use Glue Dots or tacky craft glue. Fun fact: While some spiders have no eyes, some species have 8 and others have as many as 12.
- Your pinecone spider is complete! For extra fun, your child can use cotton butcher’s twine to create spider webs for your critters to dwell in.
(Source: FirefliesAndMudpies)
4. Confetti Pumpkins
If you don’t want the mess of carving a pumpkin, glam up some faux pumpkins with your kids instead. Made with metallic confetti and spray paint, these are perfect to place on your porch, steps or walkway.
Materials:
- Elmer’s glue
- Faux pumpkins
- White satin spray paint
- Metallic confetti in various colors
- Sponge applicator
Directions:
- Remove the pumpkin stems and spray paint the pumpkins. Let them dry.
- Paint the top of your pumpkins with glue, as well as the raised humps of the pumpkin between each crease.
- Put the confetti on a paper plate and sprinkle it over the pumpkin.
- If the confetti isn’t “dripping” down the pumpkin, use the sponge applicator to add dots of glue to the pumpkin, and stick the confetti on with your fingers.
- Fill in any holes by adding more glue and confetti. Let the pumpkins dry and replace the stems.
(Source: ConfettiPumpkins)
5. Halloween Bread Tags
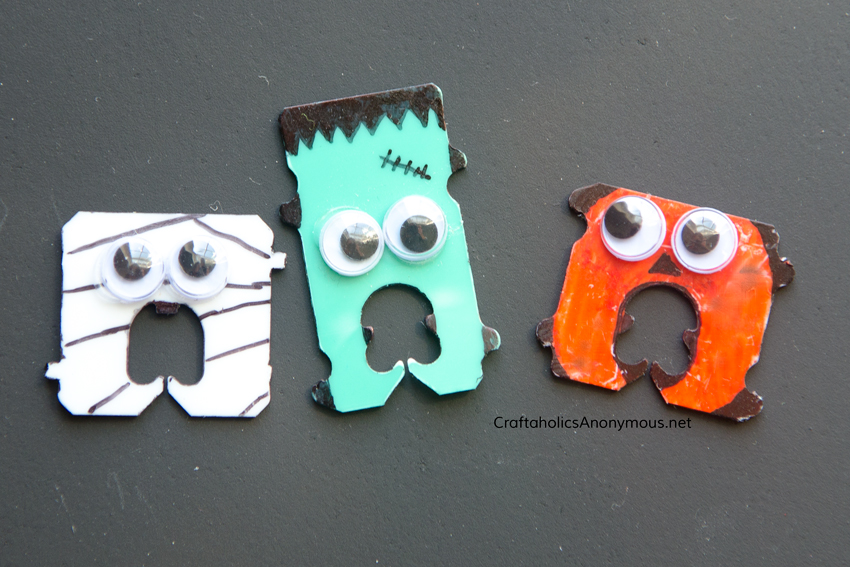
Turn simple bread tags into a seasonally appropriate surprise with these adorable DIY monster face tags, and make breakfast and lunch fun.
Materials:
- Bread tags (preferably blank ones)
- Low temperature glue gun or white glue
- Small googley eyes
- Permanent markers
Directions:
- Draw faces on the bread tags. I did a Mummy, Frankenstein, and a Jack-o-Lantern. I colored the sides of the tabs black to define them more and give them a 3D look, as shown above.
- Then hot glue the wiggle eyes in place. {I recommend using a low temp glue gun for this so you don’t burn your fingers glueing those tiny eyes.}
- You can make your own little collection of Halloween Bread Tags! Wouldn’t these be cute as DIY Halloween party favors?
(Source: CraftaholicsAnonymous)
6. Handprint Frankenstein
Handprint crafts aren’t just for Thanksgiving turkeys: Your kids can make Halloween handprint cards to show the fellow monsters in their life that they care (or give one to a secret admirer). We love this quirky-looking hand-print Frankenstein card..
Materials:
- Neon green cardstock
- Black paint
- Googly eyes
- Black cardstock
Directions:
- Fold the neon green cardstock in half. Have your child trace a hand so that their pinky is on the folded part of the card.
- Cut out the handprint, leaving the pinky part uncut so that the card will open up at this part.
- Paint the top of the hand black to make the Frankenstein hair. Add some zig zag lines in the hair when painting.
- Cut out two strips from black cardstock to use for the eyebrows and mouth.
- Glue the googly eyes on top of the eyebrows.
- Write a Halloween message or hang the card on the fridge to admire your artwork.
(Source: TheBestIdeasForKids)
7. Vampire Bat
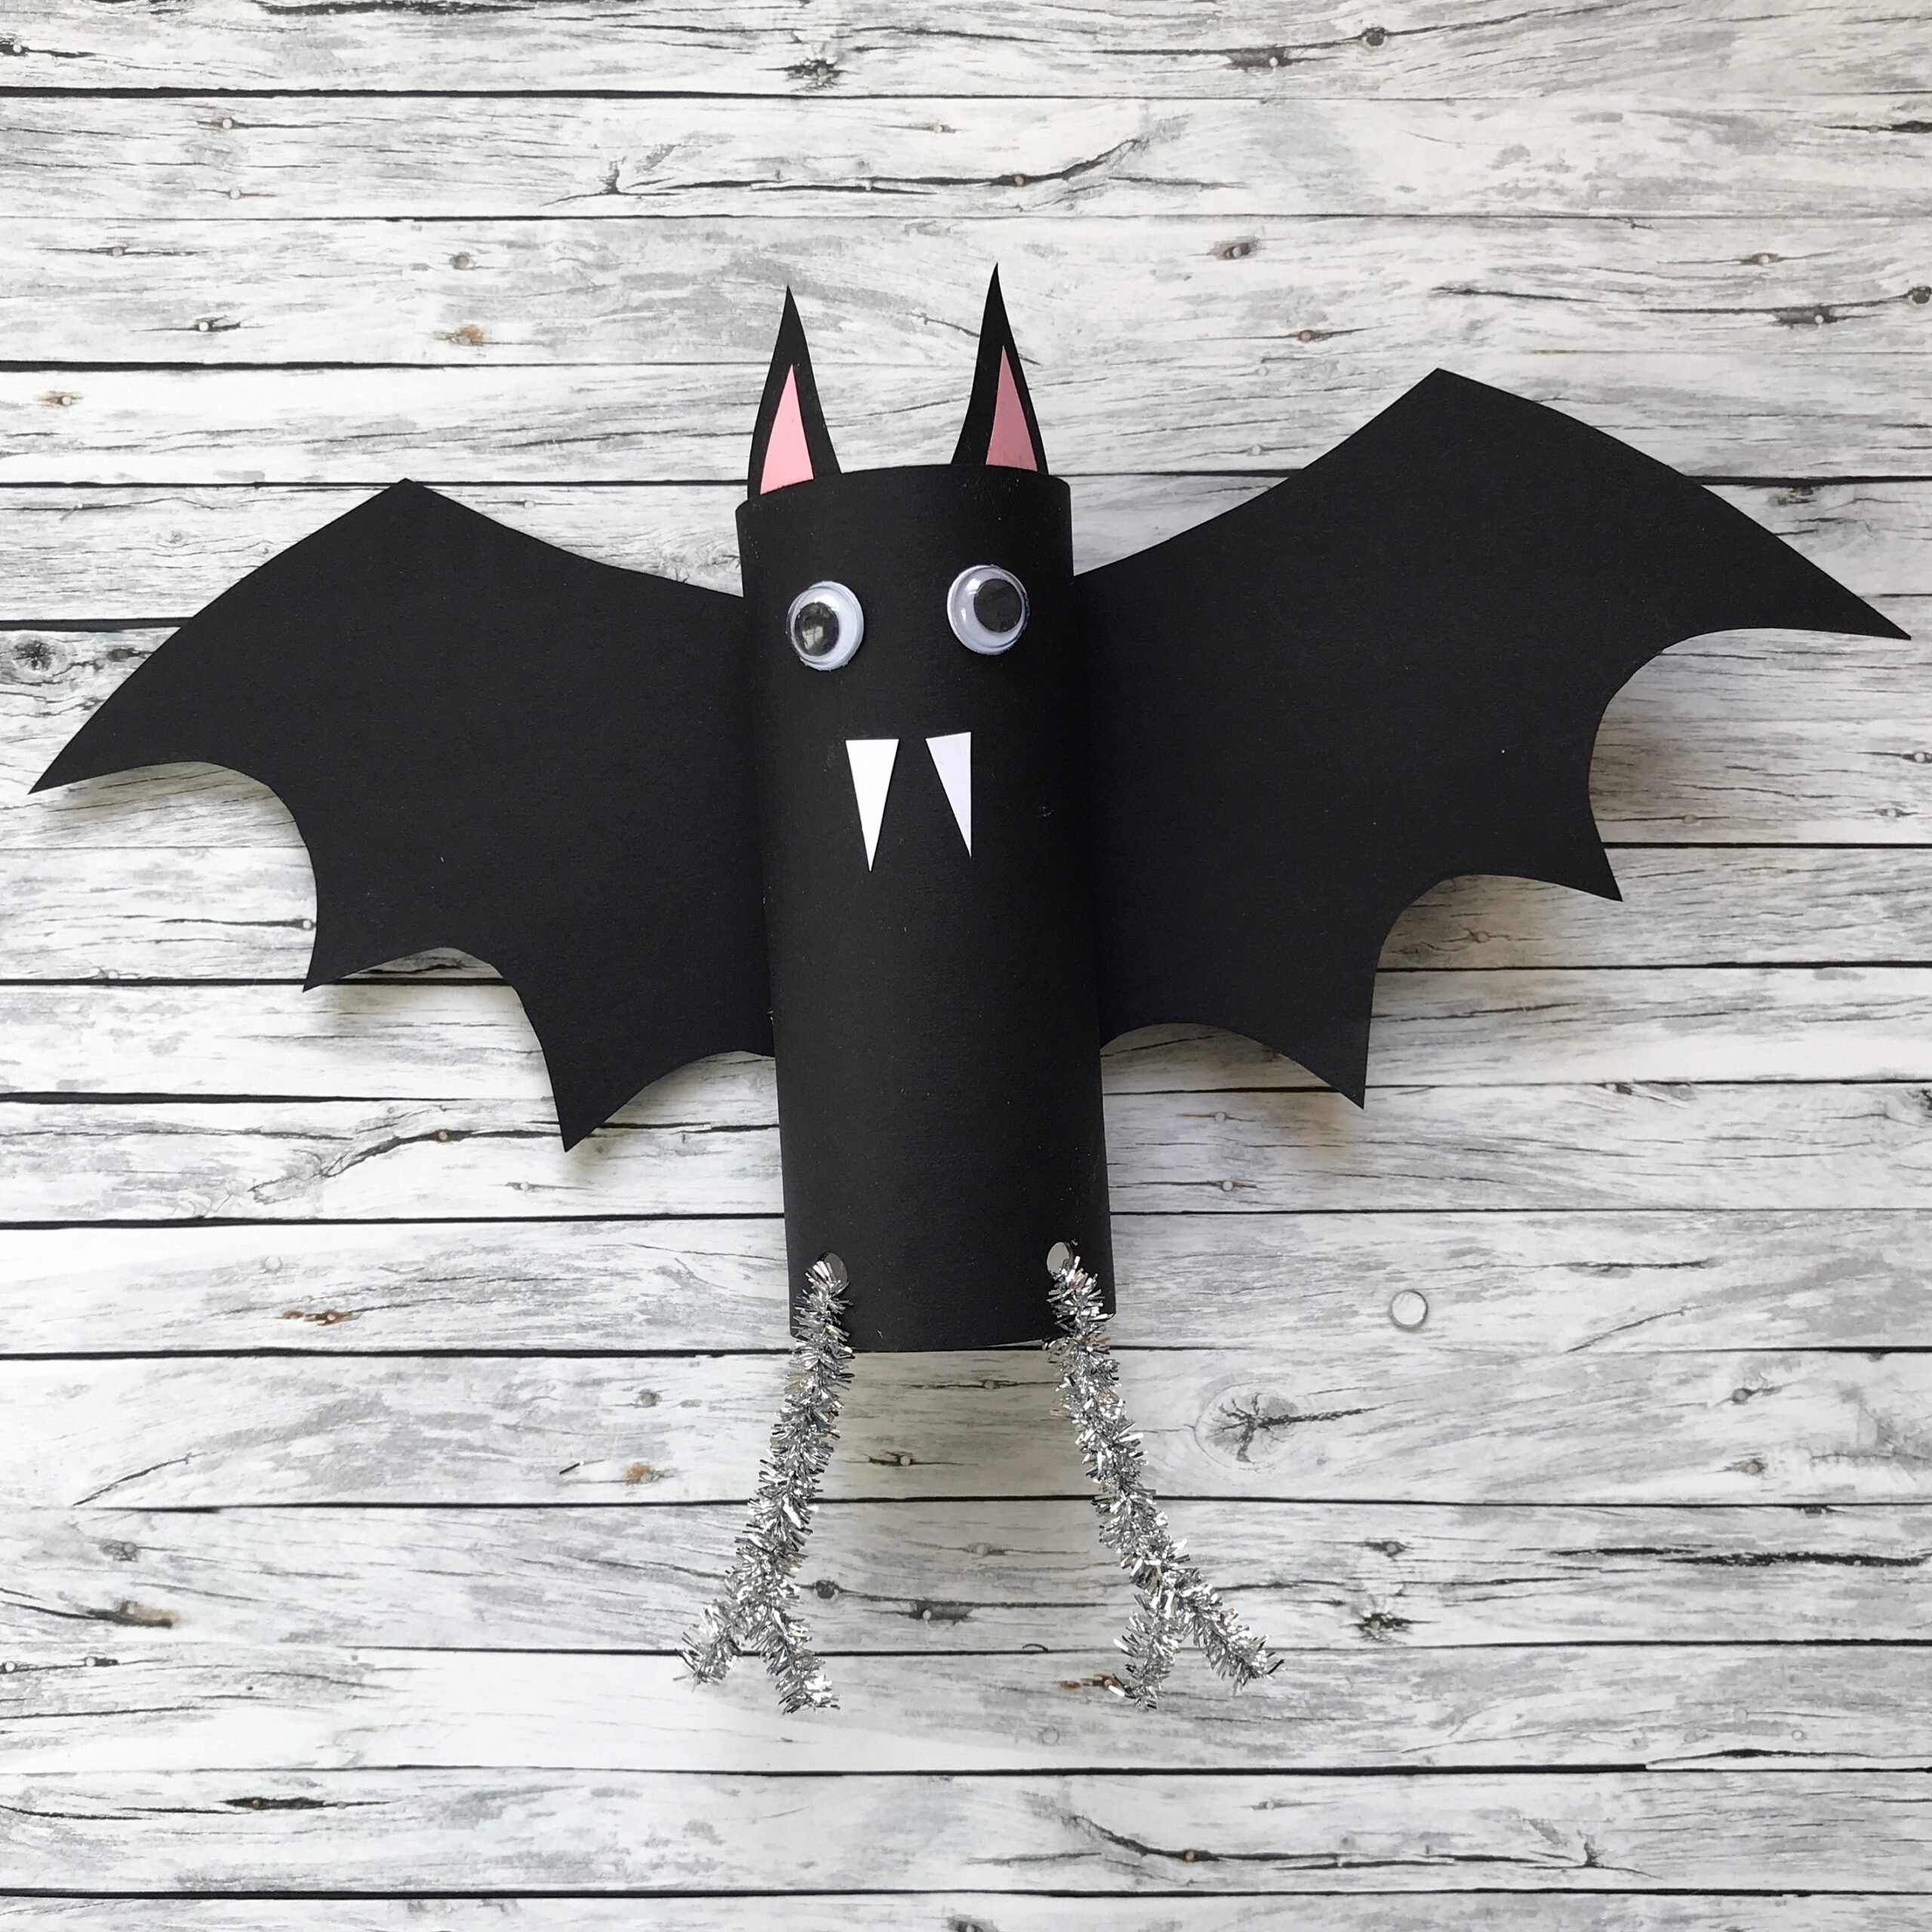
You can hang this adorable vampire bat upside-down so it looks like a real cave-dweller. This is a great craft if you have multiple kids: Older ones can cut paper for the ears and wings, while younger ones can glue on the finished parts. Be sure to assist with the hole-punch portion to avoid pinching little fingers.
Materials:
- An empty cardboard roll (toilet paper roll, or similar, cut to size)
- Black construction paper
- Scraps of pink and white paper
- Silver pipe cleaner
- Googly eye stickers
- Pencil
- Scissors
- Glue stick
- Bat wing template
Directions:
- Cut a strip of black paper the width of your cardboard tube and long enough to wrap once around it.
- Cover one side of the black paper in glue and wrap it around the cardboard tube.
- Draw and cut out a pair of bat wings. You can draw around the template (linked above), or sketch and cut out a pair of wings free hand.
- Glue the cardboard tube in the center of the bat wings.
- Glue on a pair of googly eyes. You can also draw eyes on a scrap of white paper in black pen, cut them out, and stick them on.
- Cut out a pair of fangs from a scrap of white paper and glue them on the bat.
- Cut two long triangles from scraps of black craft paper, and two slightly smaller ones from scraps of pink paper. Stick pink triangles on top of the black ones, and glue these to the inside rim of the cardboard tube to make your bat’s ears.
- This step should be handled by adults: Make two holes on the bottom edge of the front of your cardboard tube. Use a hole punch if you have one, or use scissors, taking care not to poke yourself.
- Cut the pipe cleaner in half. Fold each half in half again, then thread through the holes and twist around each other to make the bat’s legs/feet. Trim the pipe cleaners if they seem too long.
- Display your finished vampire bat!
(Source: TheBearAndTheFox)
8. Paper Jack-O-Lanterns
Decorate the inside of your house with these adorable pumpkin lanterns that are simple but fun to make.
Materials:
- Orange and green construction paper (12 x 18″, but letter size will work, too)
- Black markers, paint, or construction paper
- Scissors
- A ruler
- A pencil
- Tape
- Glue
- A stapler
Directions:
- Draw or glue a jack-o-lantern face in the center of a sheet of construction paper. Your kids can use black markers, paint, or cut-out shapes from black construction paper.
- Fold the sheet of paper in half lengthwise.
- With a pencil and ruler, draw a line lengthwise on the paper one inch from the top of the unfolded edge. This is the “do not cut line” that marks where to stop cutting.
- Take a pencil and ruler and draw lines one inch apart, from the folded edge to the do not cut line.
- Cut the paper along the lines to the “do not cut” line.
- Unfold the paper.
- Roll the paper into a cylinder and tape the narrow edges together where they meet. The middle of the lantern will flare out at the crease.
- Cut a strip from the narrow end of a sheet of green construction paper for the jack-o-lantern’s handle/stem. Use the stapler or tape to affix the handle to the top of the lantern.
(Source: MarinMommies)
9. Yarn Mummies
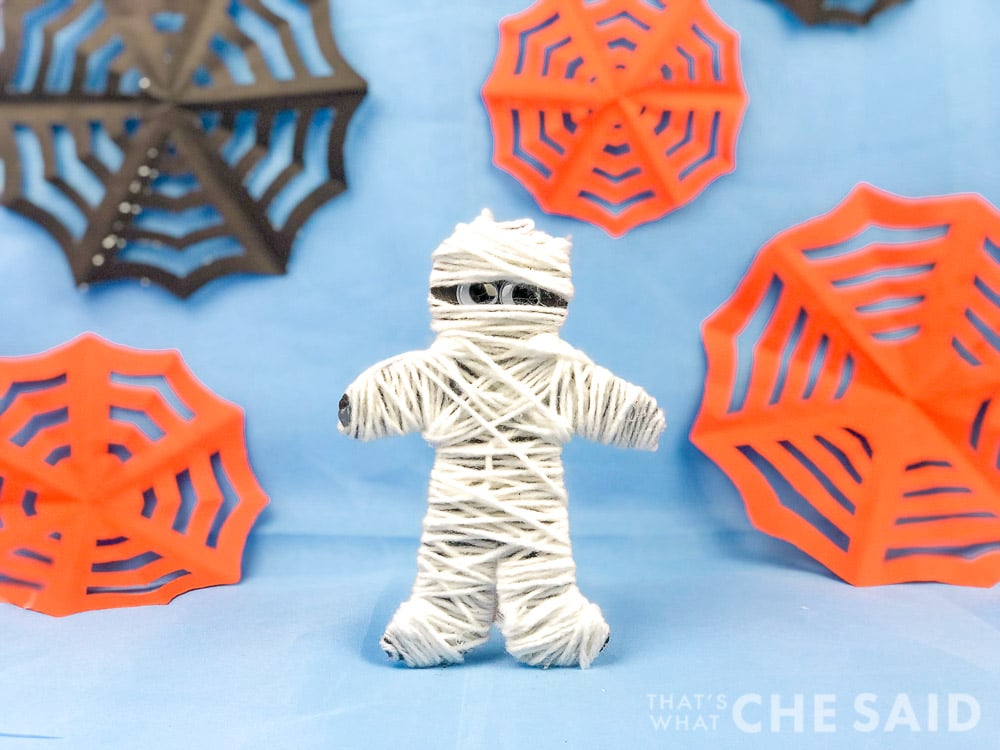
A simple craft that’s great for parties or for something fun to do after school, these yarn mummies are an entertaining craft for kids of all ages. Pre-cut the template and glue the eyes for younger children, so all they need to do is wrap up the mummy!
Materials:
- Tape
- Paper template
- Black paper (Cardstock or poster board)
- Scissors
- School glue
- Hot glue/glue sticks
- Googly eyes
- White yarn
Directions:
- Print the mummy template and cut it out.
- Use the template to trace the shape onto black paper. Show your kids how to cut the mummy from either black cardstock, thick construction paper or poster board.
- Hot glue can help the googly eyes set quickly. If younger kids are doing this craft independently, have them use school glue to attach the googly eyes to the black cutout.
- Using a small piece of masking tape, attach the end of the yarn to the back of the template.
- Wrap the yarn in alternating directions to create mummy bandages.
- When finished wrapping, cut the yarn and secure it with another piece of masking tape or a dot of hot glue.
(Source: That’sWhatCheSaid)
10. Cheesecloth Ghost
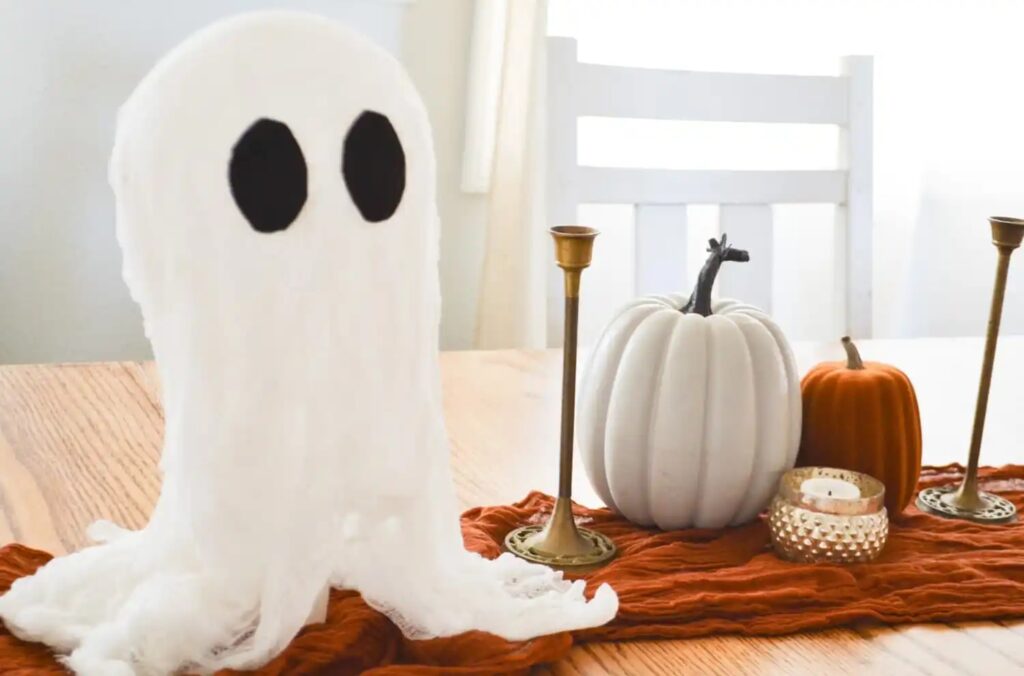
Made from a balloon and cheesecloth, this lifelike ghost appears to float when finished. Add a LED candle for an extra boo-tiful effect.
Materials:
- Metal baking tray or large piece of plastic
- Glass mason jar
- Balloon(s) – it’s good be prepared with extras, if needed
- Cheesecloth
- Foam brush
- Stiffy glue
- Black felt
- Battery-powered candle
Directions:
- Place the mason jar on the tray or piece of plastic.
- Blow up a balloon halfway, tie it, and put it in the top of the glass jar.
- Tape the balloon to the jar, then place a layer of cheesecloth over the balloon and jar.
- Before folding another layer of cheesecloth, apply a layer of stiffy glue with a foam brush until it is painted over the layer. Repeat with each layer you fold over.
- Let the glue dry, then remove the ghost from the jar and pop the balloon. The ghost should stand on its own!
- Have your kids cut out two oval eyes from the felt and glue them onto the ghost. If you don’t want to use felt for the eyes, large googly eyes are also an option.
- If you’d like, place a battery-operated candle under the ghost for a fun glow.
(Source: 1905 Farmhouse)

