Create and then excavate your very own ice ball! This family activity teaches kids about the science behind glacier excavation.
When you think about polar bears, you probably also think about ice. The ice in glaciers comes from snow that is very old. By studying the water, air, dust and other materials trapped in the many layers of snow and ice, scientists can tell what the Earth’s atmosphere was like a long time ago. The deeper they dig into the ice, the older their samples become.
What Are We Learning?
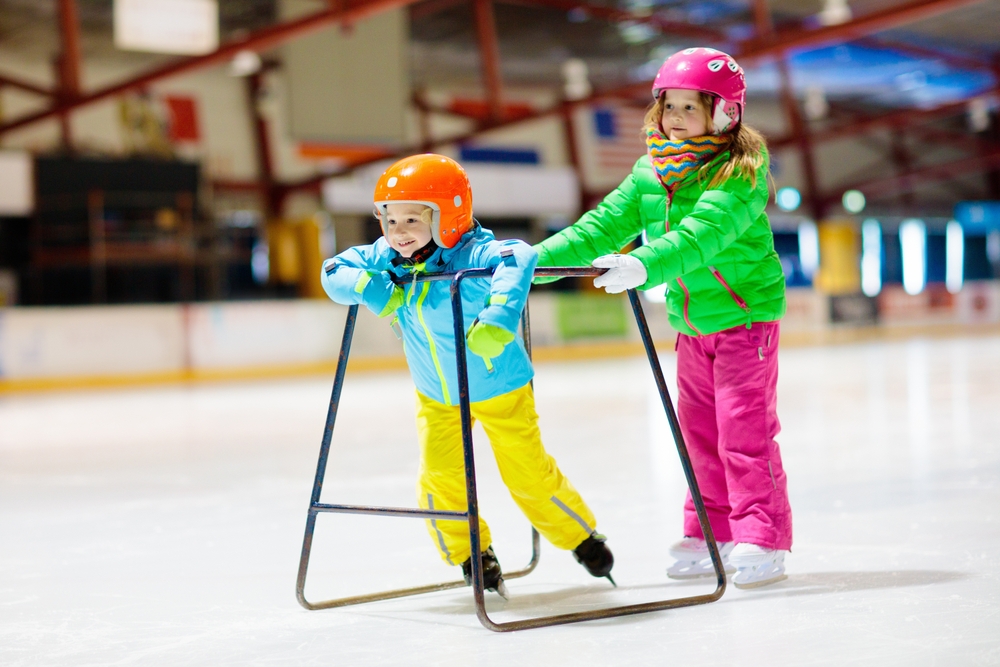
Polar bears have many features that make them very well adapted to live and hunt on smooth, slippery ice. The bottoms of their paws have black footpads that are covered with many tiny bumps called papillae. These bumps provide traction, helping the polar bear to grip the ice and move quickly without slipping. Humans are not so well equipped on the ice without special gear, but many enjoy gliding across the smooth ice at a rink on skates thanks to NIHF Inductee Frank Zamboni, who invented the ice resurfacing machine that bears his name to this day.
Working in California, Zamboni and his brothers were partners in an
enterprise that made and sold block ice. As the block ice industry declined due to mobile refrigeration, the Zamboni brothers instead used their ice making knowledge to create an indoor ice rink called Iceland in 1940. The ice rink proved so successful that keeping the ice smooth was a labor intensive job, requiring a crew of five people to work an hour and a half to complete the job. By 1949, Zamboni created a prototype of his ice resurfacing machine that could complete the work in 15 minutes.
Materials Needed
- Balloon
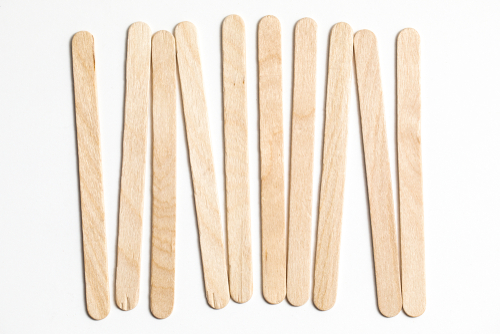
- Digging tools (e.g., craft sticks, forks, spoons)
- Flashlight
- Hand towel
- Recyclables (optional)
- Small objects (e.g., beads, mini-figures)
- Safety glasses
- Salt
- Tray
- Water
Instructions
- Prepare an ice ball ahead of time by filling a balloon partway with water, inserting small objects (e.g., beads), and then freezing it. Keep the ice ball size manageable by not completely filling the balloon; it should be able to fit into an 8-ounce cup prior to freezing.
- Once it’s frozen, take it out of the freezer and remove the balloon covering to reveal the ice ball. Set the ball on a tray. (Have a towel nearby to dry and warm your hands!)
- Turn on the flashlight and examine the ice. Look for the embedded objects. What do you notice about where they are located or how the ice looks?
- Put on safety glasses and discuss tool safety.
- Grab your digging tool or get creative and invent your own glacier digger using items like craft sticks, forks, spoons and recyclables.
- To extract the objects, you must dig into the ice the same careful way that scientists do (e.g., using drilling, boring or scraping actions, and not by hammering or stabbing).
- Consider adding a spoonful of salt on top of the ice to speed up the process. Salt chemically interacts with the ice and causes it to melt at a lower temperature.
National Inventors Hall of Fame® (NIHF) is recognizing inventors and invention, promoting creativity and advancing the spirit of innovation and entrepreneurship.