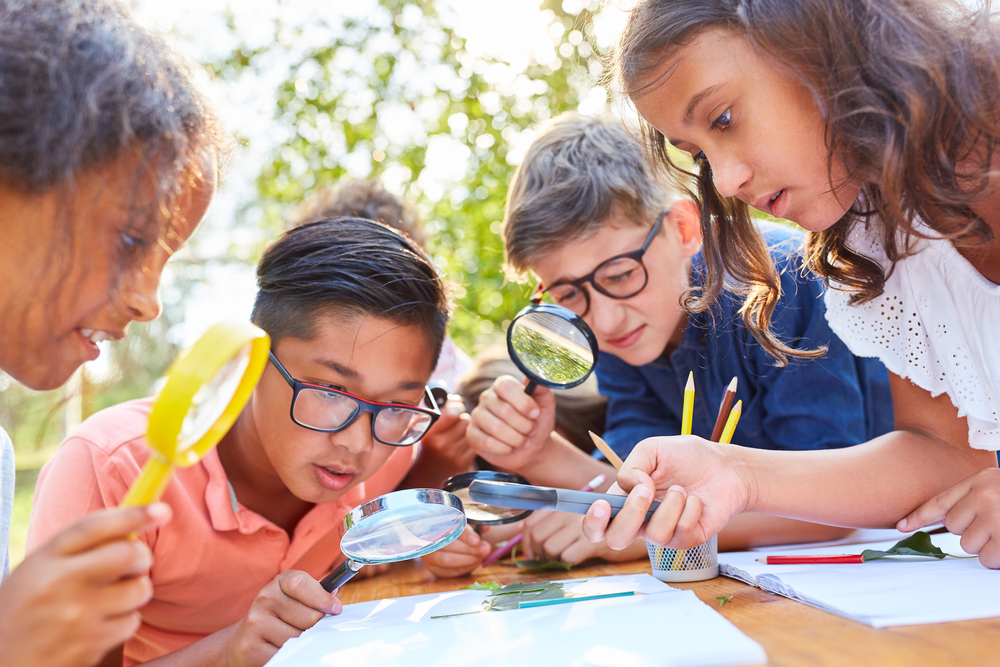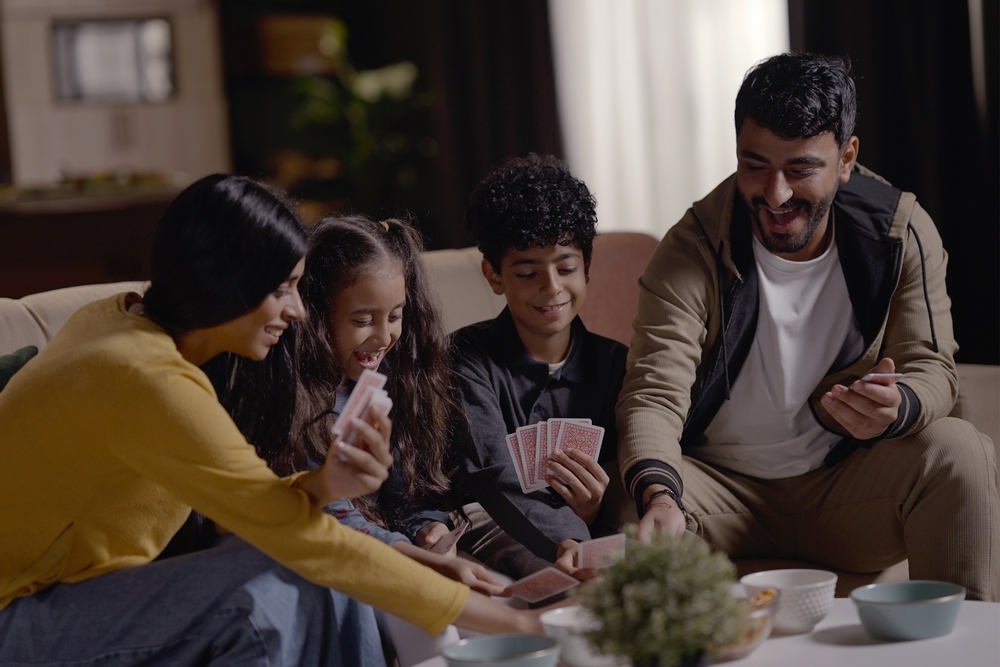
With only two days until Earth Day (April 22), it’s the perfect time to get your kids interested in the environment. Craft projects can take kids on an adventure! They can launch imaginations to places young minds have only read about or seen on television. And more importantly, they can spark lifelong passions and creative journeys that are priceless.
This rainforest craft project checks all those boxes. Not only is it super simple to put together, but this craft is something your child can learn from for months to come.
Materials
- Clean, plastic water or soda bottle
- 2-liter bottles work really well—especially for small hands
- Pebbles or aquarium rocks
- Activated carbon
- Purchase this from the pet store
- Small tropical plant, like a fern or palm
- You can also purchase this at the pet store
- Spanish moss
- Purchase this from the craft or garden supply store
- Potting soil
- Fresh moss
- Go on an adventure and gather this from outside
- Small toy animal
Directions
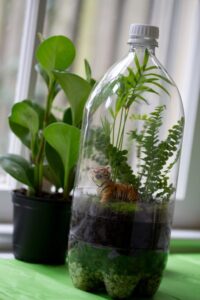 About two-thirds down of the length of your bottle, cut the bottle into two parts with a craft knife or a pair of scissors. The bottom part will be the planter and the top part will be the cover of the terrarium. (Parents can help with this part.)
- Add a layer of pebbles to the bottom of the planter. This is good for drainage.
- Sprinkle on a little of the activated carbon. This will filter the water and keep your terrarium from getting smelly.
- Add a barrier layer of Spanish moss.
- Add potting soil—enough so that it comes to just below the rim of your planter.
- If you’re using a 2-liter bottle for this project, plant the tiniest tropical plants you can find. Then add a few patches of fresh moss.
- If you’re using a small water bottle for this project, it’s best to skip the plant and use a little of the moss you found outside to cover the soil.
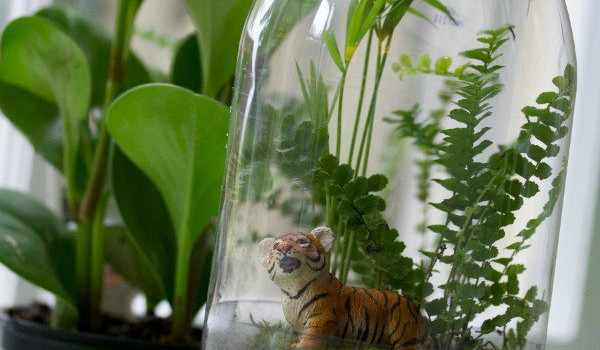
- Find a small toy that would enjoy living in your terrarium. If you can find a rainforest animal, that’s even better!
- Lightly water your terrarium.
- Cut a short slit down the back of the planter. Push the planter together where you cut the slit and place the cover on top.


Now What?
- Put your terrarium in a spot where it’ll get plenty of INDIRECT sunlight. A bedside table or on your desk are great spots.
- There’s no need to consistently water your rainforest. Moisture will form on the inside of your terrarium and on the plants. That moisture will drip down and water the soil. It’s kind of like a real rainforest!
- Study up! Google rainforests, check out books about them and watch movies about our beloved rainforests and the creatures that call them home.
For a step-by-step tutorial of how to make this rainforest in a Bottle, visit PTAOurChildren.org/RainforestVideo.
Scott Meeks is the communications manager at National PTA.